Walls & Ceiling Plastered In Kitchen

Monday, 16 June 2014

Screeding A Floor

This basement floor in a house in Margate, Kent needed to be screeded (ie. levelled applying a mixture of sharp sand & cement). The photos below show how:


Monday, 2 June 2014

Restoring 17th Century Tudor House

This 17th Century Tudor House built at about 1610 is being beautifully restored using the same original materials (ie sand, lime & horse hair)
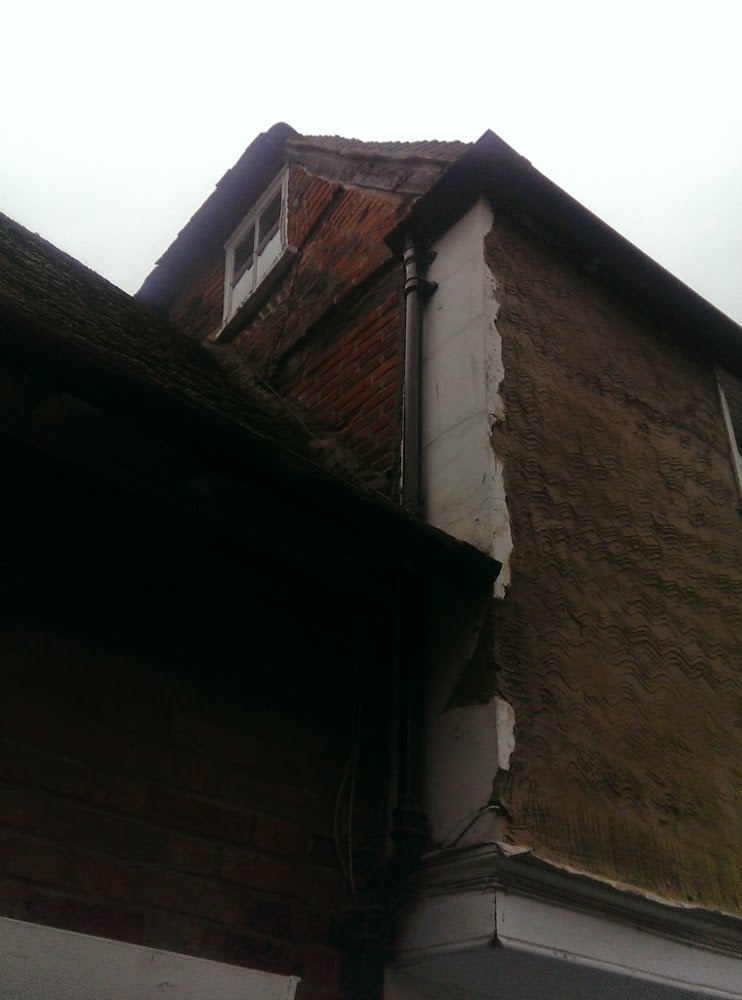
In the first photo the original Lime Render was damaged and had to be removed so exposing the wooden laths. The next 2 photos show the base coats of Lime Render that have been  "keyed" in preparation for the final coat.
The last two photos show a nice rendered finish.


Monday, 19 May 2014

Internal 3-Coat Lime Plaster

This plaster involves 2 coats of a traditional sand and lime mix backing, with added animal hair or fibre for strength. It is then topped with a final coat of slaked-lime putty and fine sand. We will restore, secure and repair old limework and repair or reinstate lathe and plaster walls.


Saturday, 10 May 2014

Plastered Wooden Lathes

The plaster on this wall was cracked and had come away from the wooden lathes. New plaster was applied resulting in a nice smooth finish.


Friday, 9 May 2014

The Art Of Coving

Plaster coving can be fitted to most rooms by following these steps:
1) Mark exactly where you want the coving to sit. Do this by using a short length of coving – say 100mm – to act as a template. Mark the top and bottom of this template at regular intervals along the wall, then join up using a straight edge to create your guide.
2) Then score between the pencil guidelines to give you a good key for the adhesive.
3) Start on the longest wall in a corner. Use a mitre block and a saw to cut the coving's end at a 45° angle, sanding off any rough edges.
4) Spread coving adhesive over the back of the first piece of coving, manoeuvre into place between your marked lines. Press along the length so the adhesive sticks firmly.
5) Any excess adhesive that oozes out can be removed with a damp sponge.
6) Continue working your way around the room butting one piece up against the next.


Monday, 21 April 2014

Plastering Is An Art

It takes many years of experience to achieve plastered walls and ceiling as smooth as shown on a recent project below.


Friday, 18 April 2014